Hoover Carpet Cleaner User Manual: A Comprehensive Guide
Bissell excels in pet hair removal, a key consideration when selecting a carpet cleaner for homes with furry companions, ensuring effective cleaning solutions.
Understanding Your Hoover Carpet Cleaner
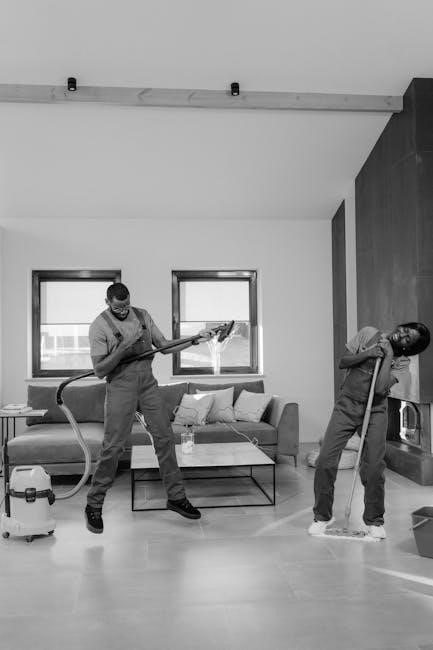
Hoover carpet cleaners are designed to revitalize your floors, removing embedded dirt and stains that regular vacuuming misses. These machines utilize a powerful combination of cleaning solution, hot water, and suction to deliver a deep clean.
Many models feature specialized brush rolls that agitate carpet fibers, loosening debris for effective extraction. Understanding the different components – from the clean and dirty water tanks to the spray nozzles and attachments – is crucial for optimal performance.
Bissell’s reputation for pet hair removal highlights the importance of choosing a cleaner suited to your household needs. Familiarizing yourself with your Hoover’s specific features will ensure you achieve the best possible results, extending the life of your carpets and maintaining a fresh, clean home environment.
Model Identification & Key Features
Hoover carpet cleaners come in a variety of models, each designed with specific features to address different cleaning needs. Identifying your model number – typically found on a sticker on the machine’s base or handle – is the first step to accessing the correct support and parts.
Key features often include adjustable brush rolls for varying carpet types, heated cleaning for enhanced stain removal, and specialized attachments for upholstery and stairs. Bissell’s focus on pet hair demonstrates the value of features like tangle-free brush rolls.
Some models offer automatic cleaning modes, while others provide manual control for customized cleaning. Understanding these features allows you to maximize your cleaner’s performance and achieve a truly deep and thorough clean throughout your home.
Safety Precautions & Warnings
Prior to operating your Hoover carpet cleaner, carefully review all safety precautions to prevent injury or damage to the machine. Always unplug the cleaner before performing any maintenance or troubleshooting. Never operate the device on wet surfaces or near flammable liquids.
Keep children and pets away from the cleaner during operation. Avoid running the power cord under rugs or furniture, and do not pull the cleaner by the cord. Bissell’s reputation for pet-focused cleaning highlights the importance of keeping pets safe during cleaning.
Ensure proper ventilation when using cleaning solutions. Do not attempt to repair the cleaner yourself; contact a qualified technician for assistance. Following these guidelines will ensure safe and effective carpet cleaning.
Assembly & Initial Setup
Begin by carefully unpacking your Hoover carpet cleaner and verifying all components are present, referencing the parts list in this manual. The initial setup involves attaching the handle securely to the main body of the cleaner, ensuring it clicks firmly into place. Next, inspect the clean and dirty water tanks for any damage before proceeding.
Bissell’s focus on user-friendliness extends to easy assembly. Ensure all connections are tight to prevent leaks during operation. Before first use, it’s recommended to wipe down the exterior of the machine with a damp cloth. Familiarize yourself with the location of all controls and attachments.
Proper assembly is crucial for optimal performance and longevity of your Hoover carpet cleaner.
Attaching the Handle & Solution Tanks
To attach the handle, align the base with the receiver on the carpet cleaner body and firmly push down until a distinct click confirms secure attachment. Ensure the handle moves freely and is stable before use. Next, locate the clean and dirty water tank compartments.
The solution tanks slide into their designated slots, typically with a color-coded system for easy identification. The clean water tank usually accepts both water and cleaning solution, while the dirty water tank collects the extracted grime. Ensure both tanks are fully inserted and sealed to prevent leakage during operation, mirroring Bissell’s design for secure tank placement.
Double-check all connections before proceeding to filling the tanks.
Filling the Clean & Dirty Water Tanks
Begin by removing the clean water tank and carefully filling it with warm tap water. Add the recommended amount of Hoover carpet cleaning solution, following the guidelines on the bottle – avoid overfilling. Securely replace the clean water tank cap.
The dirty water tank, initially empty, will collect the extracted solution and debris. It’s crucial not to fill this tank beforehand. As cleaning progresses, it will fill automatically. Regularly check the dirty water tank’s level during operation, especially during heavily soiled areas, similar to monitoring tank levels in Bissell models.
Always use clean water and the appropriate cleaning solution for optimal results.
Operating Instructions: Basic Cleaning
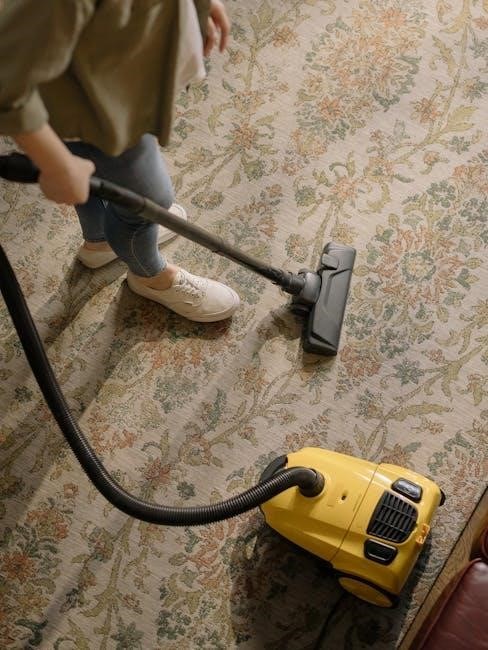
To begin, ensure both the clean and dirty water tanks are correctly installed and secured. Power on the Hoover carpet cleaner using the power button, typically located on the handle or machine body. Select your desired cleaning mode – options may include ‘quick clean’ or ‘deep clean’.
Gently guide the cleaner across the carpet in overlapping strokes, similar to how Bissell recommends for pet hair removal. Allow the machine to do the work; avoid pushing down excessively. Trigger the spray handle to release cleaning solution as you move forward.
Release the trigger when pulling the cleaner back to extract the dirty water. Continue this process until the desired area is clean.
Selecting the Appropriate Cleaning Mode

Hoover carpet cleaners typically offer several cleaning modes tailored to different needs. ‘Quick Clean’ is ideal for light soiling and fast refreshers, using less water and solution – a good option for frequent, minor messes.
‘Deep Clean’ provides a more thorough cleaning, employing increased water and suction for heavily soiled carpets. This mode is best for tackling embedded dirt and stains, similar to how Bissell targets pet hair.

Consider ‘Eco Mode’ if available, minimizing water and energy consumption. Some models also feature a ‘Rinse’ mode for extracting remaining solution. Always refer to your specific model’s guide for detailed mode descriptions.
Using the Cleaning Solution
Hoover carpet cleaners are designed for use with specifically formulated cleaning solutions. Using unauthorized detergents can damage the machine and void the warranty, so always check compatibility.
Dilution is key; carefully follow the solution’s instructions for proper mixing with water. Overuse can leave residue, attracting more dirt, while underuse may not effectively clean.
Consider specialized solutions, like those targeting pet odors or stains, mirroring Bissell’s focus on pet-related cleaning. Pre-treat heavily soiled areas before using the machine for optimal results. Ensure the solution tank is securely fastened before operation.
Advanced Cleaning Techniques
Beyond basic cleaning, Hoover carpet cleaners offer techniques for deeper restoration. Utilize the ‘deep clean’ mode for heavily trafficked areas, allowing for extended contact time and enhanced soil removal.
For stubborn stains, employ a pre-treatment spray and allow it to dwell before machine cleaning. Consider a second pass with clean water to rinse away any remaining residue, preventing re-soiling.
Similar to Bissell’s pet hair focus, use specialized attachments for upholstery and stairs. Mastering these techniques ensures a thorough clean, extending the life of your carpets and maintaining a fresh home environment.
Spot Cleaning & Stain Removal
Addressing spills immediately is crucial. Blot, don’t rub, to prevent spreading. Utilize the Hoover’s handheld attachment for focused stain treatment, applying a small amount of cleaning solution directly to the affected area.
For pet accidents, a specialized enzymatic cleaner is recommended, breaking down odor-causing compounds. Follow with a clean water rinse to remove residue. Remember Bissell’s expertise in pet messes when selecting solutions.
Test solutions in an inconspicuous area first to ensure colorfastness. Patience and a methodical approach are key to successful spot cleaning, restoring carpets to their original condition.
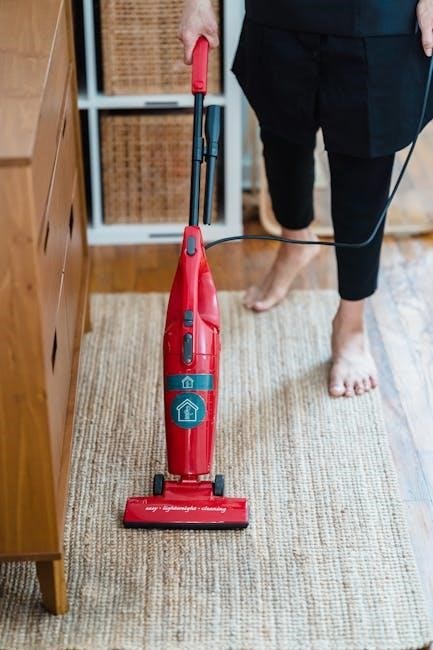
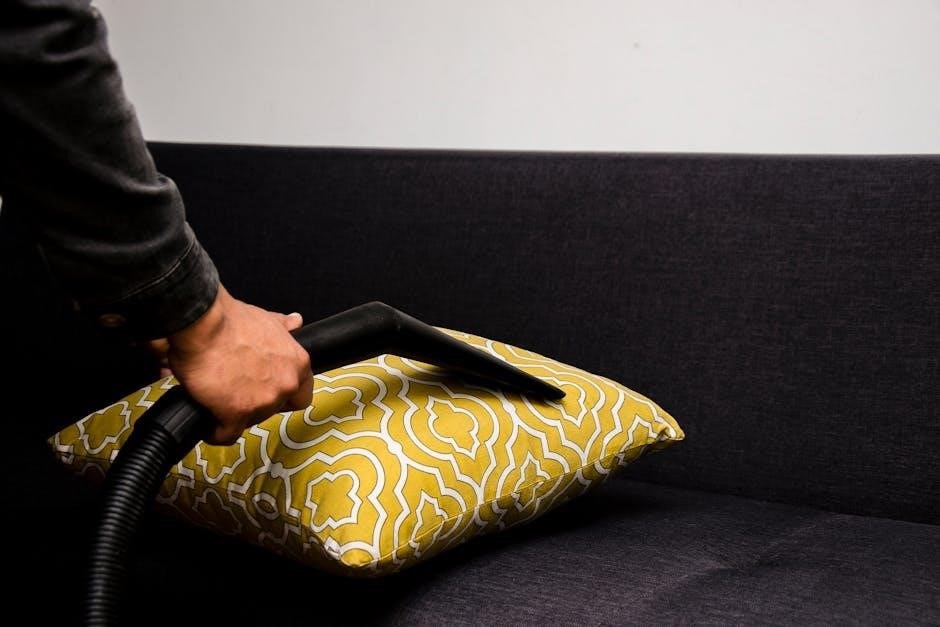
Using Attachments for Upholstery & Stairs
Hoover carpet cleaners often include specialized attachments for versatile cleaning. The upholstery tool, typically smaller with a focused spray, is ideal for furniture, removing embedded dirt and stains effectively.
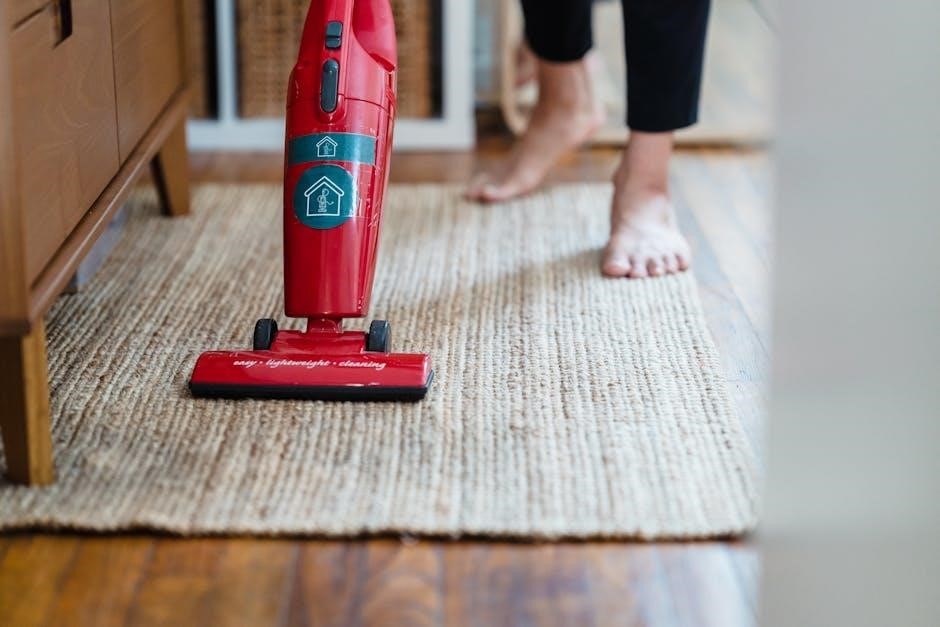
For stairs, the crevice tool or a smaller brush attachment provides precision cleaning in tight spaces; Use a slow, deliberate motion, overlapping each pass to ensure thorough coverage. Remember Bissell’s focus on pet hair – crucial for stairs!
Always test the attachment on an inconspicuous area of the upholstery or stair carpet first. Adjust the cleaning mode to a gentler setting for delicate fabrics, preventing damage.
Maintenance & Troubleshooting
Regular maintenance extends your Hoover carpet cleaner’s lifespan and performance. After each use, thoroughly rinse the clean and dirty water tanks, preventing mildew and odors. Inspect the brushes for tangled hair or debris, removing it promptly.
Troubleshooting common issues is essential. If the machine lacks suction, check the filters and hoses for blockages. Refer to the manual for specific error codes or warning lights. Bissell’s reputation for pet hair solutions means clogs are common!
Preventative care, like filter replacement, avoids more significant problems. Always unplug the machine before performing any maintenance.
Cleaning the Brushes & Nozzles
Maintaining clean brushes and nozzles is vital for optimal cleaning performance. After each use, or more frequently with pet hair, detach the brush roll and remove any accumulated fibers, hair, or debris. A small brush or seam ripper can be helpful.
Inspect the nozzles for blockages that may restrict water flow or suction. Rinse them thoroughly under running water, ensuring all openings are clear. Bissell’s focus on pet hair necessitates frequent brush cleaning.
Allow all components to dry completely before reassembling. Regular cleaning prevents odors and ensures effective stain removal.
Filter Replacement & Care
Proper filter maintenance is crucial for maintaining suction power and preventing motor damage. Regularly check your Hoover carpet cleaner’s filter – typically after each use – for dirt and debris accumulation. Rinse washable filters thoroughly with cool water and allow them to air dry completely before reinstalling.
Replace disposable filters according to the manufacturer’s recommendations, usually every 3-6 months, or more often with heavy use, especially with pet hair. Bissell’s expertise in pet solutions highlights the need for clean filters.
A clogged filter reduces cleaning effectiveness and can overheat the motor.
Common Issues & Solutions
Reduced suction often indicates a full dirty water tank, a clogged filter, or a blockage in the hose or brushroll. Always empty the dirty water tank and check the filter first. Inspect the hose and brushroll for obstructions like hair or debris.

If the machine won’t power on, verify the power cord is securely plugged into a working outlet. Check the circuit breaker. Bissell’s focus on pet hair suggests frequent cleaning, potentially leading to clogs.

Water recovery problems can stem from a full recovery tank or a blocked pump. Ensure the tank isn’t overfilled and the pump is clear.
Machine Not Powering On
Initial troubleshooting requires verifying the power cord is firmly connected to both the machine and a functioning electrical outlet. Test the outlet with another device to confirm it’s providing power.
Check the circuit breaker or fuse box; a tripped breaker or blown fuse will prevent the cleaner from operating. Reset the breaker or replace the fuse as needed. Bissell’s pet hair focus implies frequent use, potentially straining electrical circuits.
Inspect the power switch for any damage or malfunction. If the switch feels loose or unresponsive, professional repair may be necessary.

Loss of Suction & Water Recovery Problems
Reduced suction often indicates a clogged filter, hose, or brush roll. Immediately turn off the machine and inspect these components, removing any obstructions like hair, debris, or pet fur – Bissell’s specialty area.
Check the dirty water tank; if it’s full, the machine will lose suction and water recovery capability. Empty and clean the tank thoroughly before resuming operation. Ensure proper tank seating.
Inspect the hose for kinks or blockages. A damaged or obstructed hose restricts airflow, diminishing both suction and water recovery. Replace if necessary.
Storage & Long-Term Care
Proper storage is crucial for maintaining your Hoover carpet cleaner’s longevity. Before storing, always completely drain both the clean and dirty water tanks, preventing mold and mildew growth – a common issue with moisture.
Thoroughly dry all components, including the hose, handle, and brush roll. Leaving moisture inside can lead to corrosion and unpleasant odors. Ensure everything is completely air-dried.
Store the machine in a cool, dry place, away from direct sunlight and extreme temperatures. Consider covering it to protect it from dust and debris, similar to pet hair concerns addressed by Bissell.
Draining & Drying the Machine
Post-cleaning, immediate draining is essential. Carefully remove the dirty water tank and empty its contents into a suitable drain, avoiding spills. Rinse the tank thoroughly with clean water to remove any remaining residue.
The clean water tank should also be emptied and rinsed. Inspect the hose and handle for any trapped water, and drain accordingly. A complete rinse prevents buildup and maintains hygiene.
Allow all parts to air dry completely before reassembling and storing. This prevents mold, mildew, and unpleasant odors – a concern similar to Bissell’s focus on pet-related cleanliness. Ensure no moisture remains within the machine.
Proper Storage to Prevent Damage
Long-term storage requires a clean, dry environment. Ensure the machine is completely dry – mirroring Bissell’s concern for preventing odors from pet messes – before storing it. Avoid damp basements or areas prone to temperature fluctuations.
Coil the hose loosely and secure it to prevent kinks or damage. Store attachments alongside the main unit, protecting them from dust and accidental breakage. Consider using the original packaging for added protection.
Avoid placing heavy objects on top of the cleaner, as this could damage the housing or internal components. Regular checks during storage can identify potential issues before they escalate, ensuring longevity.